ASME SEC V BASIC CALIBRATION BLOCK
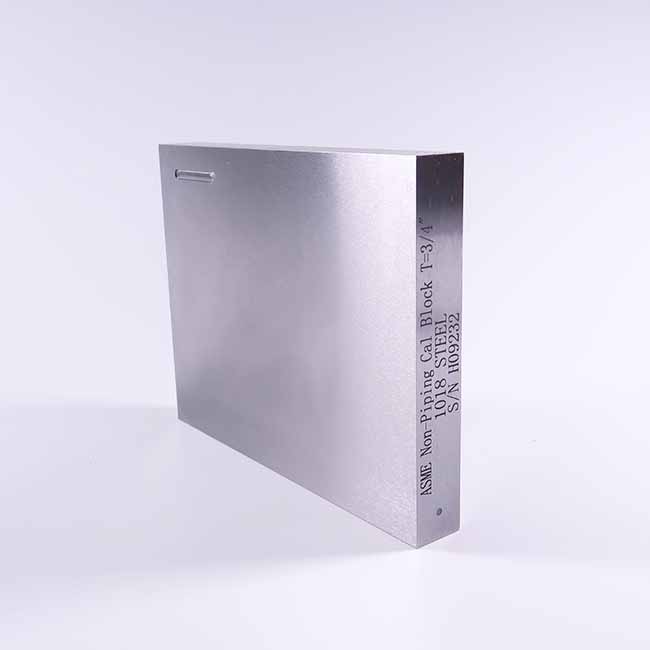
Send InquiryUsed for establishment of primary reference responses for UT examination of welds. Block contains three side-drilled holes at 1.5″ deep minimum at 3/32″ diameter (½” and ¾” blocks), 1/8” diameter (1½” block) and 3/16” diameter (3” block). Hole locations through the thickness are ¼, ½, and ¾T. Also contains two EDM notches measuring 2%T deep x 1/4″ max wide x 1.0″ long min. In accordance with ASME Sec V Art. 4 Fig. T-434.2.1.
Used for establishment of primary reference responses for UT examination of welds. Block contains three side-drilled holes at 1.5″ deep minimum at 3/32″ diameter (½” and ¾” blocks), 1/8” diameter (1½” block) and 3/16” diameter (3” block). Hole locations through the thickness are ¼, ½, and ¾T. Also contains two EDM notches measuring 2%T deep x 1/4″ max wide x 1.0″ long min. In accordance with ASME Sec V Art. 4 Fig. T-434.2.1.


